How to Correctly Prime a Coil

Priming a coil is an important part of the vaping process. The more and more you vape using your device, the more likely it is that it will produce lower amounts of vapour. This will also result in a diminishing flavour.
It is important to learn how to prime a coil correctly. Through this guide, we will help you figure this out while also explaining additional considerations such as what a coil is, what priming involves, how long you should prime your coil for and how frequently you should aim to do this.
What Is a Coil?
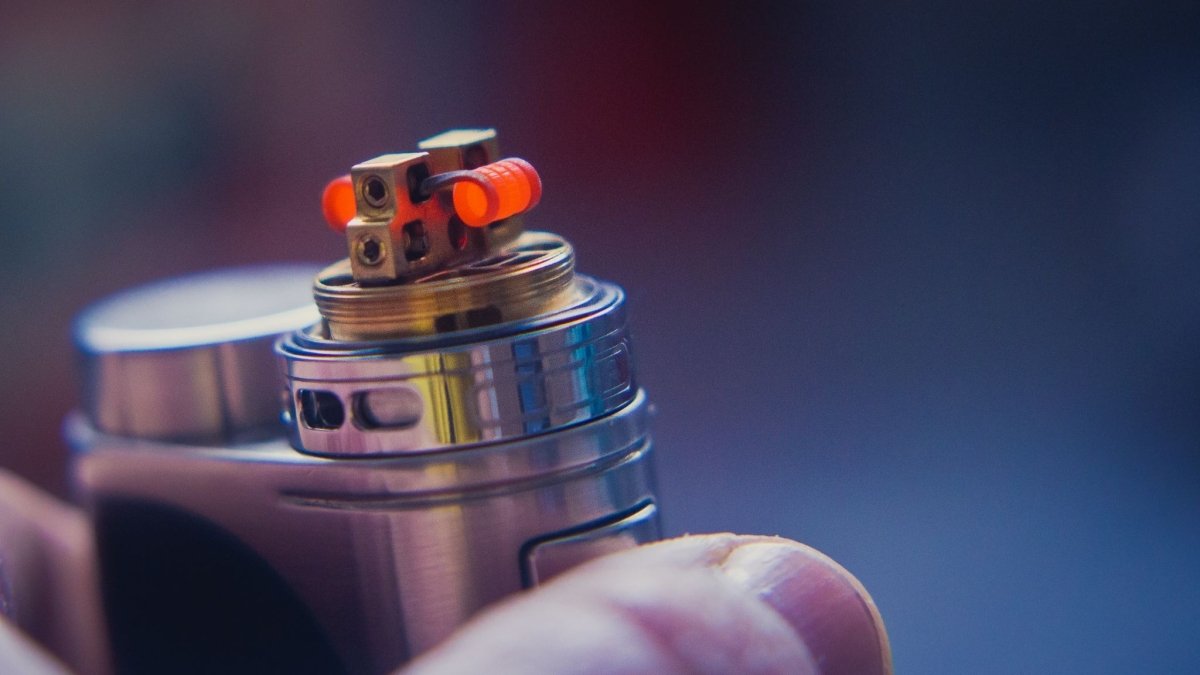
A coil is a small cylinder or tank inside your vape kit comprising an atomiser wire along with a wicking material (usually cotton or other fibres). This wicking material absorbs the e-liquid, after which the wire vapourises the liquid.
What Is Priming?
Priming refers to the process of thoroughly soaking up the wicking material in your coil so that good amounts of vapour and flavour are produced.
This will ensure that you do not have to face a dry hit while vaping. This dry hit is caused due to the wick burning when there is not enough saturation. You will also be able to experience better flavours after priming along with an assurance of the coil lasting longer.

How to Correctly Prime a Coil
Now that you know what a coil is and why priming is important, we can now move on to figuring out how to prime a coil as correctly and accurately as possible. A dry hit can be unpleasant, which is why you must make it a point to prime your coil correctly each time you buy a new coil.
Let’s take a detailed look at the steps involved in correctly priming a coil.
-
● Firstly, you need to insert the new coil in order to replace the old one. This will go to the bottom of the tank or cylinder. It will help you to do this first so that you can perform the priming process in a clean and efficient way.
-
● Once you have securely attached the coil, you can then begin the process of priming. Make sure that you can clearly visualise the wicking material so that you can get a good enough idea about what you are doing.
-
● Pour in the e-liquid onto the cotton or other wicking material. Use the liquid bottle to drip the liquid onto the cotton gradually. Make sure you target the juice ports or holes so that absorption takes place smoothly. These holes will be seen from the exterior as well, making it easier for you to pour the liquid.
-
● You should do this until the wicking material is completely soaked. However, make sure there is no extra liquid inside the tank otherwise it could directly make its way into your mouth when you try to vape. If there is any extra liquid, you can simply remove it on your own.
-
● Here, it is important to note that it might take you varying amounts of liquid to completely soak up the wicking material. This could depend on the brand you are using as well as the material itself.
-
● Once this is done, you can reassemble any remaining parts of the kit.
-
● Fill in your cylinder with liquid (usually from the top). See how much you
need to fill it up and make sure you reach that level. Once again, this will
depend on the brand that you are using.
-
● Once this is done, you should try and test out some dry hits after connecting it
to the batter. This means that you should vape without firing the device up. While doing this, ensure that you cover up the air holes with your hand. Try not to take in too much to prevent flooding in the tank.
-
● Wait for ten minutes to ensure thorough saturation. You can then start vaping by starting out at a lower setting.
Those were all the steps that you need to follow in order to correctly prime a coil. It might seem like a long process, but it actually won’t take you too long as long as you follow all the steps properly. You will now also be able to enjoy the distinct flavours while ensuring that your coil will last you long enough.

-
How Long Will It Take?
Generally, you should prime your coil for approximately ten minutes before you start vaping. Doing it for longer than that will also work and enhance the saturation and flavours.
Here, you should also consider how thick and viscous the e-liquid is in order to determine the time. You should prime the coil for longer if you have a thicker liquid.
When to Replace a Coil
You should replace your coil on a regular basis. Depending on the manufacturer, the type of coil, the wicking material, the e-liquid, the frequency of usage, the settings of the kit and more, you can replace your coil as and when required.
It would be best to replace your coil as soon as you start getting a burnt taste in your mouth. This will indicate that the wick has dried out.
Concluding Remarks
You are now aware of the steps you should take in order to correctly prime a coil. Make sure you follow these thoroughly every time you buy a new coil so that you can make it last longer while also getting a good taste and flavour.
These steps include soaking up the wick, filling the tank, reassembling the kit, testing it out, leaving the tank for a few minutes and then, finally, vaping. The minute details
of these steps will depend on the brand you are using, so make sure you go through all the specifications first before moving forward with the process.
Remember to replace this coil regularly. Whenever you notice the burnt flavour, you should take that as an indicator to make the replacement.
Now that you know what to do, you can go ahead and prime that coil perfectly!


