My Vape Won't Turn On: The Ultimate Troubleshooting Guide

My Vape Won't Turn On: The Ultimate Troubleshooting Guide
There are few moments more frustrating for a vaper than the one where you press the fire button, expecting a satisfying puff, only to be met with complete silence. The dread of a dead device, the panic that you might have to go back to smoking, and the frustration of wasted e-liquid—it’s a feeling no one wants to experience. But here’s the good news: in almost every case, a vape that refuses to turn on is not a lost cause. It’s a solvable problem.
This comprehensive guide is your first-line of defence against a dead vape. We’ll walk you through a step-by-step process, from the simplest checks to the more technical fixes, to help you diagnose the issue and get your device back up and running. At MisterVape, we believe that a little knowledge can save a lot of frustration, and by the end of this guide, you’ll be a troubleshooting pro.
Part 1: The First Steps – A Quick Checklist
Before you assume the worst, it’s crucial to rule out the most common, and often most overlooked, causes of a dead vape. These initial checks will solve the majority of problems in under a minute.
1. Is it Charged? (The Most Common Culprit)
This may seem obvious, but a critically low battery is the number one reason a vape device won't respond. Many vapes, especially those with an internal battery, have a safety feature that completely shuts off the device when the charge is too low to fire the coil. A blinking or flashing LED light often indicates this state.
-
Action: Plug your device into its charger and a known-working power source. Give it at least 15-20 minutes to build up enough charge to turn on. Look for a solid light or an on-screen indicator to confirm it’s receiving power.
2. Is it Turned On or Locked? (The "5 Clicks" Rule)
Most modern vape devices, whether they have a button or not, have a simple on/off or lock function to prevent accidental firing. The standard sequence is five quick presses of the fire button.
-
Action: Try pressing your fire button five times rapidly. A series of flashes will usually indicate that the device has turned on or unlocked. If this doesn’t work, check your user manual—some devices require three clicks or a different sequence.
3. Is it a Pod Kit and is the Pod Installed Correctly?
Pod systems are fantastic for their simplicity, but a loose pod can be a major issue. A magnetic or push-fit connection can sometimes get a weak connection, preventing the electrical current from reaching the coil.
-
Action: Remove the pod from your device and re-insert it with a firm push until you feel it click or snap securely into place. This ensures a proper connection between the pod’s coil and the battery’s contact pins.
Part 2: The Main Culprits – A Deeper Dive
If the initial checks didn’t solve your problem, it's time to investigate the underlying issues. The problem is likely related to one of the following.
1. Battery Failure or Charging Problems
Your battery is the heart of your device, and if it's not working, nothing else will.
-
Faulty Charging Port or Cable: The charging port on your device is a delicate component. Pocket lint, dust, or e-liquid residue can build up inside, preventing the cable from making a solid connection. Similarly, the cable itself can fray internally, even if it looks fine on the outside.
-
Battery Degradation: All rechargeable batteries have a finite lifespan, typically lasting for around 300 to 500 charge cycles. As a battery ages, its capacity to hold a charge diminishes. If your vape is over a year old and used heavily, the battery may have simply reached the end of its life.
-
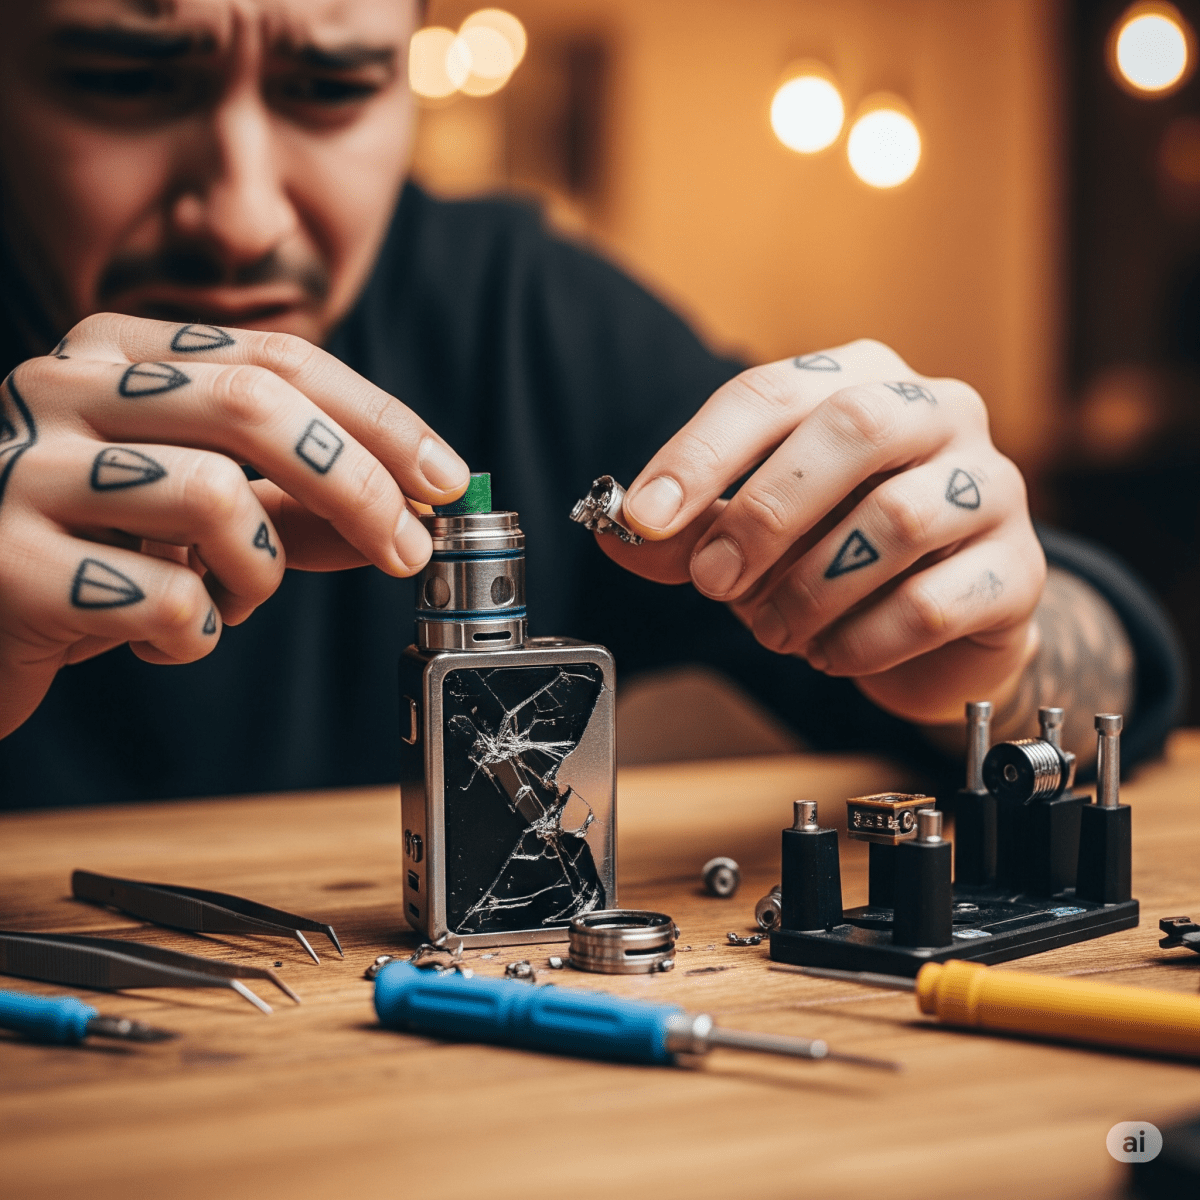
Internal Damage: Dropping your device can cause internal wiring to become loose or the delicate chipset to fail, leading to a battery connection issue that a simple recharge won't fix.
2. Connection Problems (The Bridge Between Battery and Coil)
The electrical connection is crucial. A "no atomiser" or "check atomiser" message on a screen-based mod is a clear indicator of a connection issue.
-
E-Liquid Residue: A small leak—even a tiny one—can leave a film of e-liquid on the contact points. Because e-liquid is not a perfect conductor of electricity, this residue can block the circuit and prevent your device from firing.
-
Debris and Dust: Pocket lint and dust can build up in the connection area, acting as an insulator and breaking the electrical circuit.
-
Worn-out 510 Pin: For mods that use a 510-threaded connection, the positive pin on the mod itself is often spring-loaded. If this pin gets stuck or becomes recessed, it can't make contact with your tank, and the device will not fire.
3. Faulty or Stuck Fire Button
If your device has a fire button, it is a mechanical component that can be subject to wear and tear.
-
Stuck Button: The most common cause is e-liquid residue or debris getting underneath the button, making it sticky or stuck in a depressed state.
-
Internal Damage: A drop can damage the button's internal mechanism, making it unresponsive even if it looks fine on the outside. This is a more serious issue that often requires a replacement.
4. Draw-Activation Blockage
For devices that don't have a fire button, an internal sensor detects the change in air pressure when you inhale. This sensor can be easily fooled.
-
Blocked Sensor: The tiny airflow channel that leads to the sensor can get clogged with e-liquid, dust, or condensation, preventing the device from detecting your draw.
-
Leaking E-Liquid: A small internal leak can flood the sensor, causing it to malfunction.
Part 3: The Fixes – Step-by-Step Solutions
Here is your comprehensive troubleshooting checklist. Go through each of these steps in order to diagnose and solve the problem.
Step 1: Check Your Charging Setup
-
Action: Try a different charging cable and a different power source (a wall outlet vs. a computer USB port). A faulty cable or adapter is a surprisingly common problem.
-
Action: Inspect your device's charging port with a flashlight. If you see any lint or debris, use a toothpick or a small, soft brush to gently clear it out.
Step 2: Clean Your Connection Points
-
Action: Remove your tank or pod. Use a dry tissue, a cotton swab, or a piece of kitchen roll to thoroughly clean the metal contact pins on both the device and the bottom of your tank or pod.
-
Action: For mods with a 510 connection, use the same method to clean the threads. If the centre pin looks recessed, gently try to wiggle it back into position (be extremely careful not to damage it).
Step 3: Troubleshoot Pod Systems
-
Action: If your pod system is draw-activated and not working, remove the pod. Use a cotton swab to dry and clean the inside of the connection port, where the airflow sensor is located.
-
Action: If you have a spare pod, try swapping it out. This will tell you if the issue is with the pod itself or the device.
Step 4: Inspect and Clean Your Fire Button
-
Action: With a cotton swab slightly dampened with rubbing alcohol, gently clean around the edges of your fire button. This can dissolve sticky e-liquid residue. Ensure the device is completely dry before attempting to turn it on.
-
Action: If the button is physically stuck, gently wiggle it to see if you can dislodge any debris.
Step 5: When All Else Fails… The Final Checks
-
Action: For devices with external batteries, remove them and re-insert them, ensuring the positive (+) and negative (-) terminals are correctly aligned.
-
Action: If you have a screen-based mod, check for any error messages like "short circuit" or "check battery." These messages provide valuable clues about the problem. A "short circuit" error, for example, means there is an issue with the coil, and the device's safety features are preventing it from firing.
-
Action: As a last resort, if you have a removable battery device, try swapping out the battery for a new one. This will tell you definitively if the battery was the problem.
Part 4: Prevention is Key – Keeping Your Vape Alive
The best way to fix a dead vape is to prevent it from dying in the first place. By adopting a few simple habits, you can significantly extend the life of your device and enjoy a worry-free experience.
-
Clean Regularly: Make a habit of doing a quick clean every time you refill your tank or swap a pod. A dry wipe of the contact points can prevent a lot of problems down the line.
-
Charge Wisely: Use the cable that came with your device and plug it into a reliable power source. Avoid leaving your device on charge overnight, as this can degrade the battery over time.
-
Store It Safely: Don't just throw your vape in your pocket or bag. This is how lint, debris, and drops happen. Use a small carry case or a dedicated pocket to protect your device.
-
Be Mindful of Your Use: The more you drop your device, the more likely you are to cause internal damage. A little care goes a long way in preserving the lifespan of your vape.
A dead vape can be a real inconvenience, but with this guide, you have the knowledge to become your own troubleshooting expert. If you have exhausted all of these options and your device still won't turn on, it may be a sign that it has reached the end of its life.
At MisterVape, we are dedicated to providing high-quality, reliable devices that last. If it's time for a new device, explore our extensive range of dependable kits, and let our expert team help you find the perfect replacement that will last you for years to come.
-
Posted in
vape kits


