How to Clean Your RDA in the UK – The Ultimate Guide for Better Flavour & Performance

How to Clean Your RDA in the UK – The Ultimate Step-by-Step Guide
By MisterVape.co.uk
If you’re a vaper in the UK who loves Rebuildable Dripping Atomizers (RDAs), you know there’s nothing better than the pure flavour and customisation they deliver. But over time, RDAs can become clogged with residue, muted in flavour, and harder to maintain — especially if you use sweet e-liquids that caramelise on your coils.
In this UK-focused guide, we’ll show you:
- Why regular RDA cleaning is essential
- How often to clean your RDA for maximum flavour
- A detailed step-by-step cleaning process
- Advanced deep-cleaning techniques
- Pro tips from experienced UK vapers
- Recommended MisterVape products
Why Cleaning Your RDA Matters
Neglecting your RDA can ruin your vaping experience. Over time, your atomizer builds up:
- E-liquid residue → burns onto coils, ruining flavour
- Cotton debris → affects wicking efficiency
- Clogged airflow holes → restricts vapour production
- Gunky decks → cause uneven heating and dry hits
Cleaning your RDA keeps flavour fresh, coils lasting longer, and performance at its peak.
How Often Should You Clean Your RDA?
Cleaning frequency depends on your vaping style and e-liquid choice:
| Vaper Type | Usage (ml/day) | Recommended Cleaning | Why |
|---|---|---|---|
| Light Vaper | 1–3ml | Every 7–10 days | Minimal residue buildup |
| Moderate Vaper | 3–6ml | Every 4–6 days | Keeps flavour and coils fresh |
| Heavy Vaper | 6ml+ | Every 2–3 days | Prevents constant burnt hits |
| Sweet Juice User | Any | Clean after every 2 refills | Sugars caramelise faster |
What You’ll Need
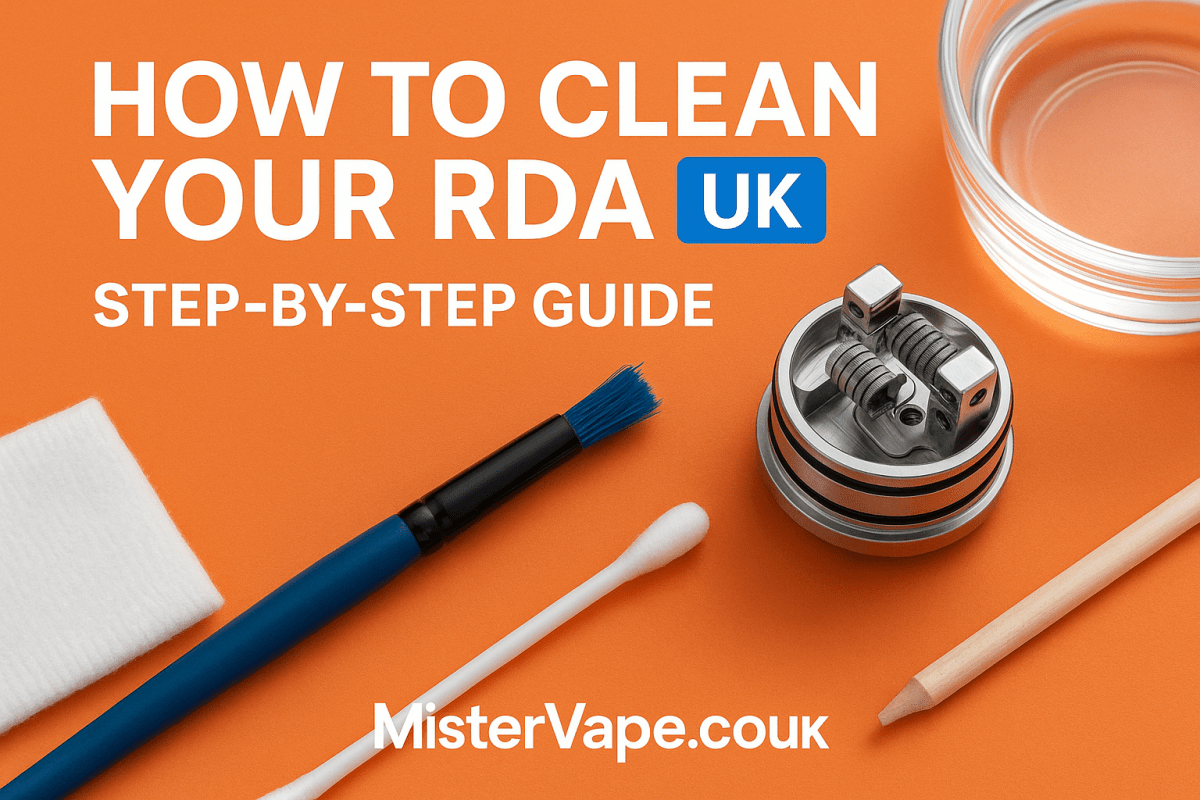
Before starting, grab these tools:
- Warm water + mild dish soap
- 90%+ isopropyl alcohol (optional)
- Soft toothbrush or coil brush
- Cotton swabs / Q-tips
- Paper towels or microfibre cloth
- Ceramic tweezers
- Premium wicking cotton
- Replacement coils
- Ultrasonic cleaner (optional)
Step-by-Step Guide: How to Clean Your RDA
Step 1 — Disassemble Your RDA
Remove your RDA from the mod and carefully separate all parts: drip tip, top cap, barrel, deck, coils, and O-rings.
Step 2 — Remove Old Wicks
Gently pull out your cotton using tweezers. Never reuse burnt or dry cotton.
Step 3 — Dry Burn Coils (Optional)
If coils are reusable, pulse at low wattage until glowing evenly. Scrub away any black residue gently.
Step 4 — Soak & Clean Components
- Basic Cleaning: Soak RDA parts in warm soapy water for 15–30 mins.
- Deep Cleaning: Use isopropyl alcohol or cheap vodka to dissolve stubborn residue.
Step 5 — Rinse & Dry
Rinse under warm running water and dry with paper towels or a microfiber cloth. Leave to air dry completely.
Step 6 — Reassemble & Rewick
Rebuild your RDA, install fresh cotton, prime coils, and enjoy a clean, fresh vape.
Advanced Cleaning Hacks
- Ultrasonic Cleaner: Removes all microscopic residue in 5–10 minutes.
- Vinegar Soak: For extreme gunk, soak in white vinegar for 15 minutes, then rinse.
- Boiling Water: Safe for metal components only. Do NOT boil painted or anodised RDAs.
Recommended MisterVape Products
- Premium Cotton Wicking Material
- Pre-Built RDA Coils
- Vape Cleaning Kits
- High-VG E-Liquids
FAQ: RDA Cleaning (UK Guide)
How often should I clean my RDA?
Light vapers: once a week. Heavy vapers or sweet juice users: every 2–3 days.
Can I clean my RDA with water only?
Yes, warm water works for basic cleaning. For better results, use alcohol or vodka for deep cleaning.
Can I reuse coils?
Yes — if they're not burnt. Use a dry burn method, but replace if flavour remains muted.
Does cleaning improve flavour?
Absolutely. A clean RDA restores full flavour clarity and boosts coil performance.
Final Thoughts
Keeping your RDA clean is the secret to better flavour, longer coil life, and a smoother vaping experience. Follow these steps to maintain peak performance and enjoy the full taste of your favourite e-liquids.
Need fresh coils, premium cotton, or high-quality e-liquids? Shop now at MisterVape.co.uk and keep your RDA performing at its best.


